If it’s your first time building a retaining wall, it can seem daunting. But with the right planning, materials, and a good grasp of drainage, it’s a project many homeowners can handle. A retaining wall is a structure built to hold back soil and resist lateral pressure created by a change in ground elevation—stopping a slope, garden bed or patio from sliding or eroding downhill.
By the end of this guide, you’ll know exactly how to build a retaining wall that’s properly drained, structurally sound, and compliant with your local building codes.
Important Safety and Legal Note: Check Before You Build
Whether you need a permit for a retaining wall will depend on your location, but most jurisdictions require one when the wall exceeds 30 inches to 4 feet high. Many jurisdictions follow the International Building Code’s general rule of 4 feet, and most will require the design to be stamped by an engineer. Sometimes even shorter walls need a permit if they are concrete, are on a corner lot or support a “surcharge” — extra weight from a driveway, patio or structure sitting near the top of the wall.
Before you start any retaining wall project, contact your local building department and ask about height thresholds, surcharge rules, and if your particular design needs an engineer’s review. A single phone call can save you from a costly stop-work order or a wall failing down the line.
Step 1: Determine Location and Purpose
The first step in learning how to build a retaining wall is figuring out exactly where it needs to be and what it needs to accomplish. Retaining walls are often used to level a sloping yard and create a flat area for a garden or patio, prevent erosion of soil, or protect a foundation from water runoff.
Measure the total space where the wall will be, and estimate how much material you’ll need based on the length and height of the wall.
Step 2: Prepare the Base
Before you begin construction, the ground under your wall should be level and thoroughly compacted. A solid compacted base stops the wall from shifting or settling unevenly over time – one of the most common causes of early wall failure, apart from drainage problems.
Step 3: Choose Your Material
The material you select will determine the strength, appearance, durability and cost of your wall. The most popular options are:
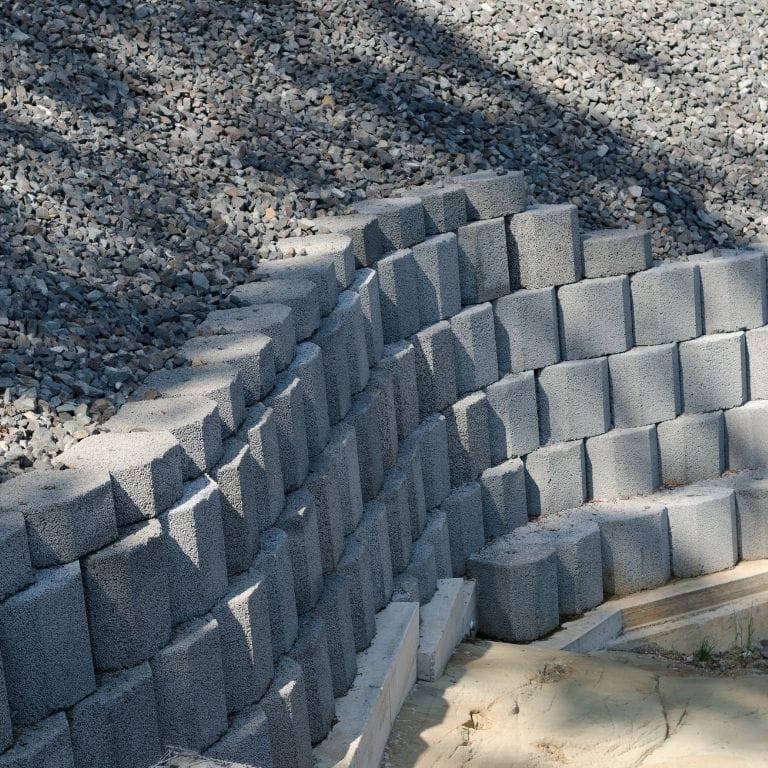
Concrete Block: Among the most popular choices for its low cost and durability. Concrete blocks come in all shapes and sizes to easily customize your design.
Natural Stone: Valued for its distinctive beauty and its ability to blend in naturally with a landscape. It is heavier and typically more expensive to install than concrete block, but it often adds more visual value to a property.

Wood Timbers: It provides a rustic appearance and is generally less costly initially. Requires regular maintenance such as staining or sealing and will generally last up to 20 years with proper care — much less than stone or concrete.
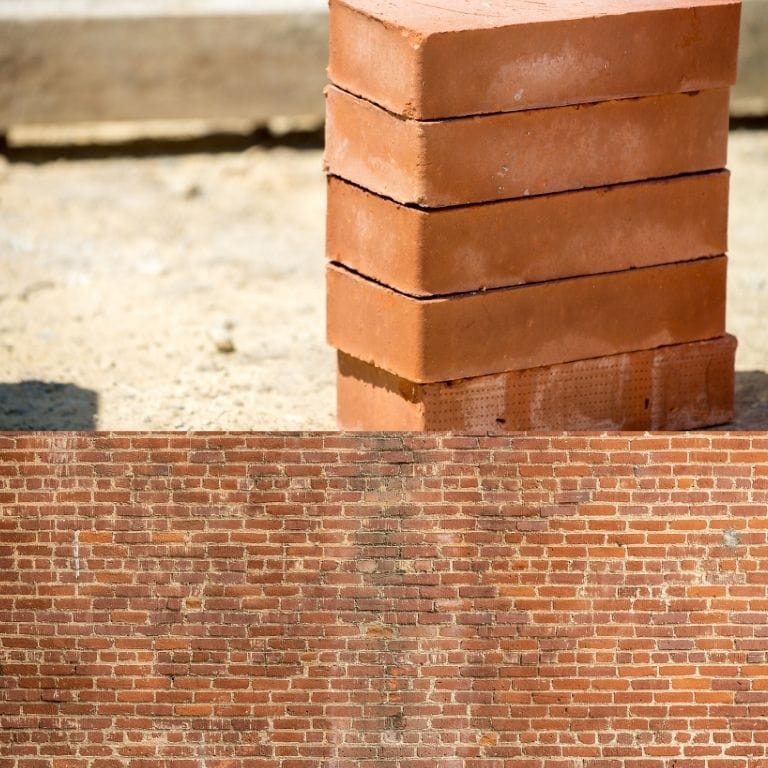
Brick: Strong and good looking but generally more difficult to install properly than concrete block.
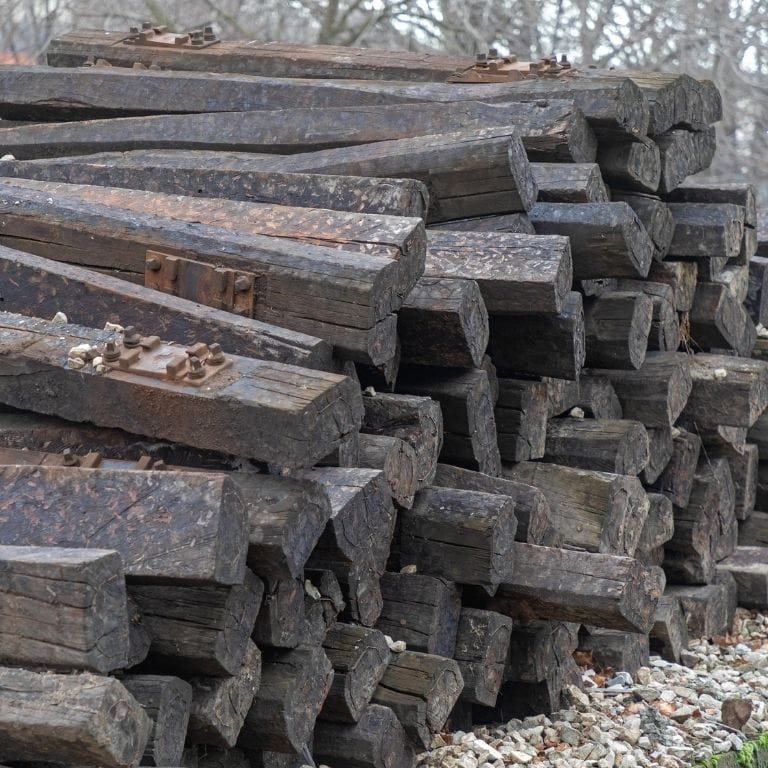
Railroad Ties: It’s a classic choice for a rustic look, but it’s often more expensive than you’d think and is becoming harder to find. The same look can be had with cedar boards or other lumber for less.
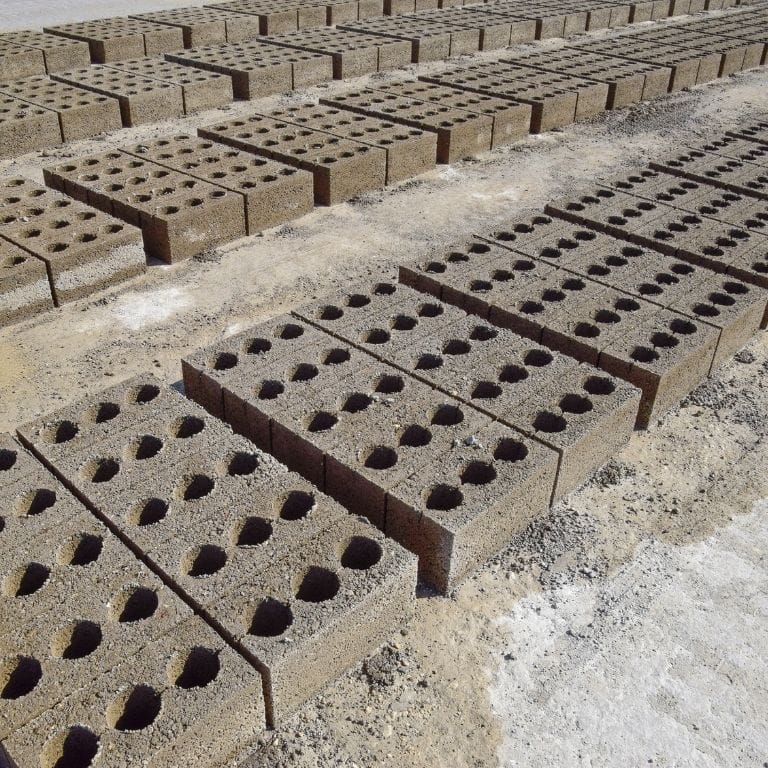
Cinder Block: It is cheap and readily available. Easy to stack but not as attractive as natural stone or dressed concrete block.
If you’re also considering concrete for your kitchen, our guide to concrete countertops cost covers the same material in a different application — useful context if you’re budgeting a larger home renovation.
How Much Does a Retaining Wall Cost to Build?
The cost of retaining wall materials can vary widely depending on what you choose and whether you hire a professional. As a rough guide: cinder block and timber tend to be the most budget-friendly options, concrete block is somewhere in the middle, and natural stone or brick are typically the most expensive, due to both material price and installation labour.
Professional installation, including adequate drainage and footings, is usually considerably more expensive than materials alone, but it’s often the safer choice for any wall approaching your local permit threshold.
Step 4: Build the Drainage System — The Single Most Important Step
Nearly 80 percent of failures are due to poor drainage, not weak materials or bad stacking. Water saturates the soil behind a wall and the soil gains weight and pressure dramatically — hydrostatic pressure . This is the single leading cause of wall collapse . This is the step that most beginner guides don’t emphasize enough, and it is the one that you really can’t skip.
A good drainage system has three main components:
Gravel Backfill: Clean angular crushed stone, approximately 3/4″ to 1 1/2″ in size, and at least 12″ thick, should be placed directly behind the wall. Some professionals recommend going even deeper, up to 24 inches, for better long-term drainage and structural integrity. The added cost of material is negligible compared to the protection it provides. Never use the dirt dug out of the trench as backfill, especially if it’s clay-heavy — clay expands when wet, holds water, and maximizes pressure against the wall rather than relieving it.
Perforated Drain Pipe: Water that seeps down through the gravel is caught by a perforated pipe at the bottom of the gravel backfill and safely carried away to a daylight opening or storm drain. If the pipe is missing, the water just sits at the bottom of the wall, softening the soil and causing the wall to sink, or “toe out.” The pipe should be pitched slightly — say 1% — toward the exit point so water drains out rather than pooling.
Filter Fabric (Geotextile): A synthetic mesh fabric is used between the gravel backfill and the surrounding native soil to prevent migration of fine silt and dirt into the clean gravel which could eventually clog the drainage system.
Weep Holes: Small holes spaced about 3 to 7 feet apart along the wall face allow the water to escape before it can build up pressure.
Proper drainage is just as important for hardscaping projects such as crushed and decomposed granite driveways. If you’re working on multiple outdoor projects, the same principles about gravel backfill and water management apply.
Step 5: Build Proper Footings
The depth of the footing and the design will depend on the height of your wall, the type of soil on your property, the expected loads, and the local building codes. There is no universal measurement that works for every wall. This is the kind of detail your local building department or structural engineer should verify for your specific project, especially any wall nearing your permit threshold in your area, rather than guess.
Step 6: How to Build the Wall — Stack and Backfill in Layers
Once your footing is in, build your wall course by course, backfilling with your gravel drainage material in layers as you go, instead of all at once — this helps ensure proper compaction and prevents air pockets that can later cause settling.
Step 7: Consider Tiered Walls for Tall Slopes
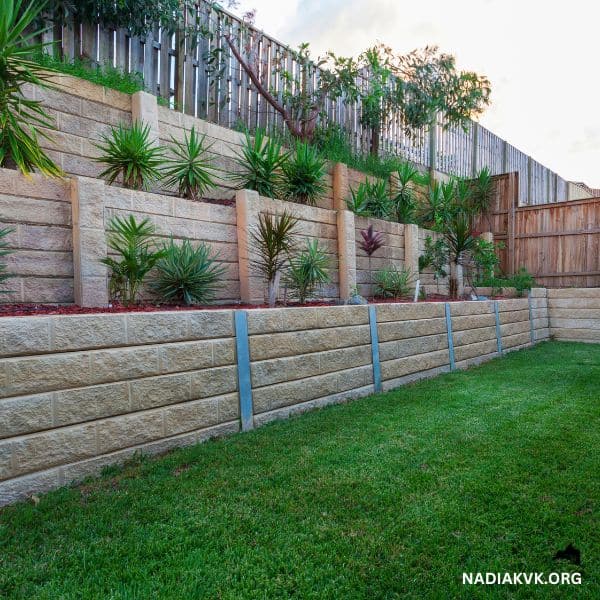
If you are working on a very steep slope, it is usually better to build a series of shorter, tiered walls, each tier set back from the one below, than to try to build one very tall wall. As a general rule, the top wall should be recessed from the lower wall by a distance of at least twice the height of the wall or the two walls will generally be considered by building departments to be one taller wall for permit and engineering purposes.
Frequently Asked Questions About Building a Retaining Wall
Do I need a permit to build a retaining wall?
It depends on where you are and how high the wall is. Most places require a permit once a wall is about 30 inches to 4 feet high, and some require one no matter the height if the wall is made of concrete, sits on a property line or supports a surcharge load like a patio or driveway. Before you start, be sure to check with your local building department.
What is the most common cause of retaining wall failure?
About 80 percent of retaining wall failures are not due to weak materials, but poor drainage. Without the proper gravel backfill, drain pipe and filter fabric, water pressure builds up behind the wall until it bulges, cracks or collapses.
Can I build a retaining wall myself, or do I need a professional?
If you’re confident in how to build a retaining wall correctly, motivated homeowners can tackle reasonable DIY projects like shorter walls, often under your local permit threshold. Tall walls, walls supporting a surcharge, or walls in poor soil conditions should be designed by a structural engineer and provided with professional oversight for construction because a tall wall failure poses a real risk of property damage or injury.
How long does a retaining wall last?
This varies greatly depending on the material and how well the drainage was installed. Wood timber walls typically last around 20 years, but well drained concrete or stone walls may last 50 years or longer.