Knockdown texture is one of the most popular wall finishing techniques used in American homes—and once you see what it does to a plain, flat wall, it’s easy to see why. So, last month, my neighbor asked me why her new living room paint looked dull, even though she’d bought expensive paint. The missing ingredient? Knockdown finish.
Three weeks after she used this technique on one accent wall, she was raving about the change. That’s the beauty of knockdown texture. It can turn a plain wall into something special and it’s a lot more affordable than most people think.
What is Knockdown Texture?
It is not a typical paint job it is a decorative technique that adds depth and character to the walls by creating subtle patterns, and shadows. Imagine running your hand along a wall and feeling gentle rises and dips, instead of a perfectly smooth surface. That tactile quality, combined with the way light plays across textured surface throughout the day, and creates visual interest that flat paint simply can’t match.
The process itself is fascinating you start by applying a wet joint compound to your wall using a spray gun, creating thousands of tiny peaks across the surface that are then partially flattened. Then comes the “knockdown” part – you can use a wide blade to gently flatten these peaks, leaving behind an organic pattern, that looks like it was crafted by nature rather than a machine.
What makes this technique so appealing to homeowners, is its forgiving nature. Unlike smooth wall that highlight every imperfection, knockdown texture actually helps hide minor flaws. Got a few nail holes from previous wall hangings? Small dents from moving furniture? These become invisible once the texture is applied.
Why Homeowners Love Knockdown Texture

During my years in home renovation, I’ve seen trends come and go but knockdown texture has remained, consistently popular. Knockdown texture has this staying power for a reason — affordable, durable, forgiving of minor wall imperfections
It solves the problem of boring walls., you know that feeling when you walk into a room and something feels off, even though you can’t pinpoint what it is? Often, it’s because the walls lack personality. Knockdown texture fix this by adding visual movement that makes spaces feel, more dynamic and lived in.
The technique also offers incredible value for money. Professional texturing costs a fraction of what you’d pay for custom wallpaper, or decorative panels yet it delivers similar visual impact. Unlike wallpaper that can peel or fade, properly applied knockdown texture can last decades with minimal maintenance.
From a practical standpoint, textured walls are more durable than smooth ones. The raised patterns help distribute minor impacts across a larger surface area making small dings less noticeable. This makes knockdown texture, particularly valuable in high traffic areas like hallways, and childrens rooms.
How Much Does Knockdown Texture Cost?
Knockdown texture is one of the most budget-friendly wall finishing options available. Here’s a realistic 2026 breakdown:
| Cost Type | Average Price |
|---|---|
| DIY (materials only) | $0.50 – $1.50 per sq ft |
| Professional application | $1.50 – $3.00 per sq ft |
| Average bedroom (150 sq ft of wall) | $225 – $450 professionally applied |
| Average whole-house (2,000 sq ft) | $3,000 – $6,000 professionally applied |
| Equipment rental (hopper gun + compressor, per day) | $50 – $100 |
Hiring a pro will usually cost more upfront than a DIY job, but most homeowners find it worth the expense—knockdown texture is really hard to apply evenly on the first try, and redoing a botched job costs more than getting it done right the first time.
3 Types of Knockdown Texture (And Which One to Choose)
Not all knockdown textures look the same. Over the years, 3 distinct styles have emerged each with its own personality, and ideal applications.
Splatter Knockdown
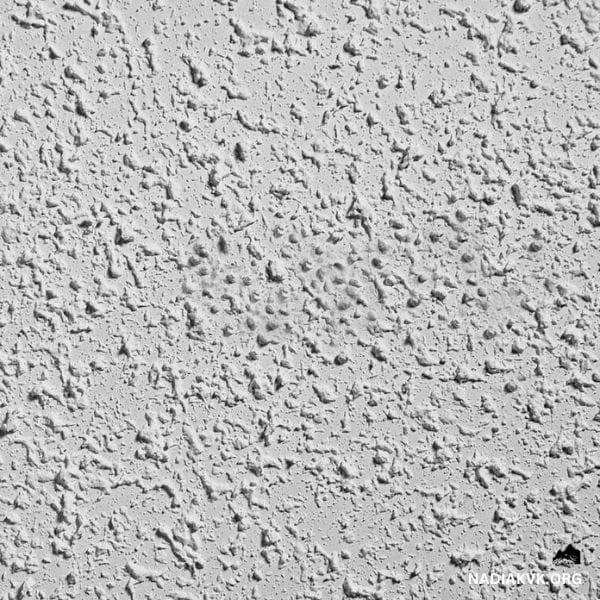
Splatter knockdown is what most people picture, when they think of textured walls. The pattern resembles gentle rainfall on sand – random, organic and naturally beautiful. This style works everywhere from bedrooms to kitchens because it’s noticeable enough to add interest without being overwhelming.
The application process creates thousands of small droplets across your wall surface. When knocked down, these form irregular circles and ovals that overlap in pleasing ways. No two sections look identical, which adds to the handcrafted appeal.
I usually recommend splatter knockdown for first-time DIYers because it’s the most forgiving. Small inconsistencies in technique actually enhance, the natural look rather than detracting from it.
Mud Trowel
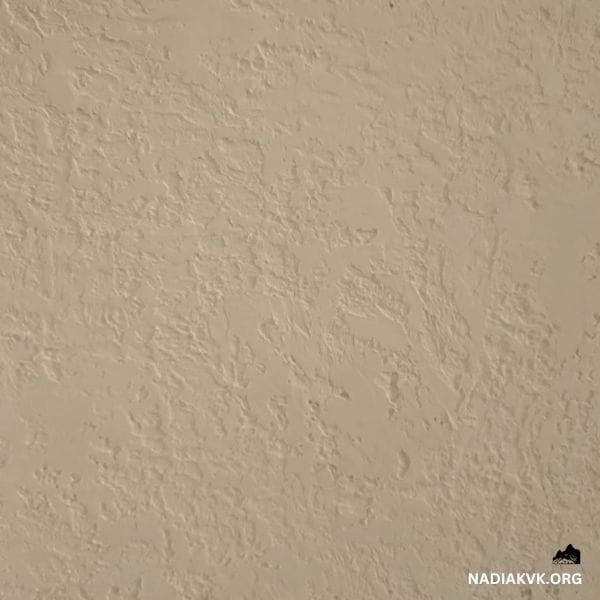
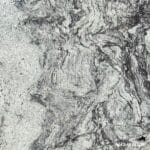
Mud trowel knockdown is the most refined of the 3 styles. The patterns are gentler and the transitions smoother creating an almost marble like appearance on your walls. This technique requires, the most skill to execute properly but it produces the most sophisticated results.
I often recommend this style for master bedrooms, formal living areas and anywhere you want texture that enhances, rather than dominates the space. It pairs beautifully with both traditional and contemporary decor.
Stomp Knockdown
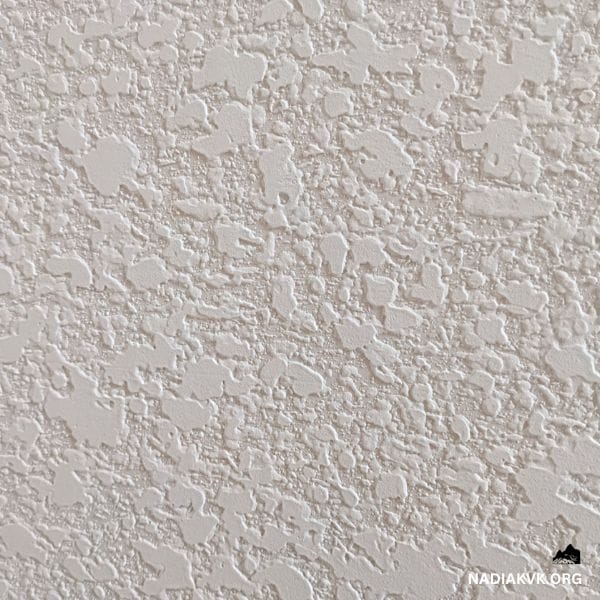
Stomp knockdown creates larger more pronounced patterns that make a stronger visual statement. Instead of fine droplets, this technique produces bigger shapes with, more defined edges. Result is rougher, and more rustic perfect for spaces where you want the walls to be a conversation starter.
This style works beautifully in dining rooms, family rooms, and anywhere you want to create a cozy, intimate atmosphere. However, I’d caution against using it in small spaces where the bold pattern might feel overwhelming.
The application requires more skill, and patience but the results are worth the extra effort for homeowners who want something unique.
If you’re doing multiple surfaces in the same renovation, our guide to drywall texture types has other popular finishes besides knockdown that might work for different rooms.
Essential Tools: What You Really Need
Having helped dozens of homeowners with their first knockdown texture projects, I’ve learned that success starts with having the right tools. Don’t worry – you don’t need a professional contractor’s arsenal, but certain items are non-negotiable.
The drywall hopper gun is your most important tool. This device connects to an air compressor, and sprays texture compound evenly across your walls. While you might be tempted to save money with a cheaper alternative, invest in a quality hopper gun. The difference in results is dramatic, and you will save time, and frustration.
Your knockdown knife needs to be at least 18 inches wide for proper coverage. Smaller knives create visible overlap marks that ruin the seamless look you’re trying to achieve. Look for one with a flexible blade that can conform to slight wall irregularities.
Don’t skimp on your texture compound either. High quality compound mixes more smoothly, adheres betterz and produces more consistent results. It might cost a bit more upfront, but you’ll use less material, and get better coverage.
Safety equipment isn’t optional because texture work creates a lot of dust and spray, so invest in good protective eyewear, dust masks and gloves. Your health is worth more than any money you might save by cutting corners.
How to Apply Knockdown Texture: Step-by-Step Process
Let me walk you through the process I’ve refined years of practice. Following these steps carefully will help you achieve professional looking results on your first attempt.
Preparation: The Foundation of Success
Start by clearing your room completely because texture work is messy, and compound can damage furniture, and floors. Remove everything you can, and cover what you can’t move with heavy plastic sheets.
Clean your walls thoroughly with a damp cloth and let them dry completely. Any dust or grease will prevent proper adhesion. Remove outlet covers, and switch plates, storing the screws in labeled bags so you don’t lose them.
Apply painters tape around windows, doors and trim. Use high quality tape because of cheap tape can allow compound to seep underneath, creating extra cleanup work later.
Priming: Creating the Perfect Base
Many DIYers try to skip priming but this step is crucial for, professional results. Primer creates a uniform surface that helps the texture compound adhere evenly. Without it, you’ll get patchy coverage, that looks amateurish.
Apply primer with a roller, working in three-foot sections and maintaining a wet edge to avoid lap marks. Two thin coats work better than one thick coat. Let each coat dry completely before proceeding – rushing this step will cause problems later.
Mixing Your Compound
Getting the mixture consistency right is critical. Start with clean water in your mixing bucket, then gradually add the powder compound while stirring. Never add water to powder – it creates lumps that are nearly impossible to eliminate.
The finished mixture should coat your stirring paddle but drip off easily. Too thick, and it won’t spray properly. Too thin, and it won’t adhere well to your walls. When in doubt, err on the slightly thicker side – you can always thin it down.
Application Technique
Fill your hopper gun, and test it on a piece of cardboard first. Adjust the air pressure, and nozzle settings until, you get consistent coverage. Because different compounds, and weather conditions may require slight adjustments.
Start applying compound in one corner, working across the wall in overlapping passes. Keep the gun moving steadily – stopping in one spot creates heavy buildup thats difficult to knock down properly. Maintain consistent distance from the wall, typically 18-24 inches.
Work in sections small enough to knock down before the compound begins setting up. In normal conditions, you have about 15-20 minutes, but humidity and temperature affect this timing.
Knockdown Process
This is where technique really matters, hold your knockdown knife at a slight angle, and drag it across the textured surface in smooth, continuous strokes. Apply just enough pressure to flatten the peaks without scraping compound off the wall.
Overlap your passes slightly to avoid leaving lines, but don’t overwork any area. Once you’ve knocked down a section, leave it alone. Going back over areas creates an unnatural, overworked appearance.
Clean your knife frequently to prevent compound buildup, that can leave streaks in your texture.
Drying and Finishing
Patience is crucial during the drying phase because depending on conditions, complete drying takes 24-48 hours, rushing to prime or paint over damp texture can cause failures later.
Once it fully dry, apply a coat of primer specifically designed for textured surfaces. These primers penetrate better, and provide superior adhesion for your finish coat.
Choose your paint carefully. Flat, or eggshell sheens work best with knockdown texture, as they don’t create hot spots that highlight imperfections. Use a high quality roller with the appropriate nap for your texture depth.
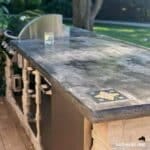
Planning a complete home reno? Check out our guide to common kitchen countertop mistakes to avoid costly mistakes elsewhere in your remodel.
Common Mistakes to Avoid
After seeing countless DIY texture projects, I’ve noticed the same mistakes repeatedly. Learning from others errors can save your time, and frustration.
The biggest mistake is inadequate surface preparation. Skipping primer or failing to clean walls properly causes adhesion problems that become apparent weeks or months later. Take time to prep properly – it makes all the difference.
Many beginners try to work too fast, applying compound faster than they can knock it down. This leads to over dried areas that don’t flatten properly, creating an inconsistent appearance.
Temperature and humidity control often get overlooked, the ideal conditions are 65-75 degrees with moderate humidity, and extreme conditions affect drying times, and final appearance significantly.
Knockdown Texture Maintenance: How Long Does It Last?
Properly applied knockdown texture requires, minimal maintenance. Regular vacuuming with a brush attachment, removes dust from the textured surface. For deeper cleaning, use a slightly damp microfiber cloth, working gently to avoid damaging the texture.
Small damage can be touched up by mixing a small batch of compound and using a brush to recreate the surrounding pattern. Let it dry, then knock down with a putty knife before priming and painting.
When properly maintained, knockdown texture lasts for decades – making it one of the best wall finishes for long term value on any budget.
Frequently Asked Questions About Knockdown Texture
Is knockdown texture outdated?
No — knockdown texture remains one of the most popular wall finishes in the American home. Very heavy, overdone textures from the 1990s are no longer popular; however, a subtle, well-executed knockdown texture remains a desirable feature, especially in ceilings and accent walls.
How long does knockdown texture take to apply?
For one room, allow 1-2 days including drying time between coats. The real application and knockdown process takes only a few hours, but proper drying (24-48 hours) before priming and painting is key to a lasting finish.
Can I remove knockdown texture if I don’t like it?
Yes, but it’s a lot of work. Skim coating over knockdown texture with a smooth coat of joint compound, or wetting and scraping the surface to remove it entirely. For most homeowners, it’s easier to skim-coat over the texture than to remove it.
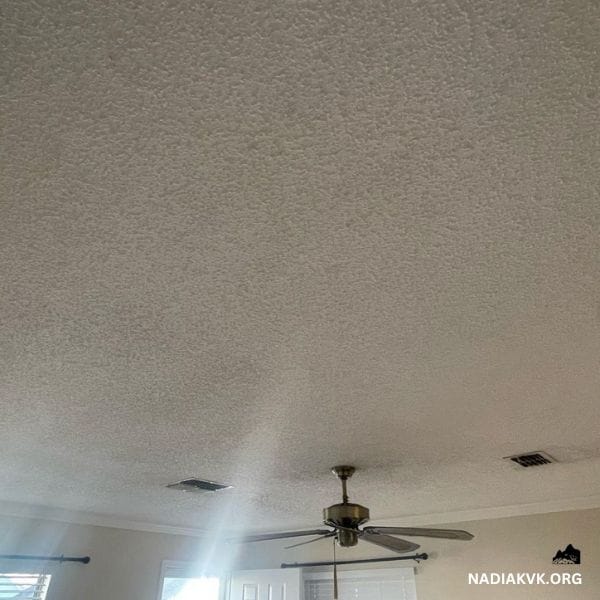
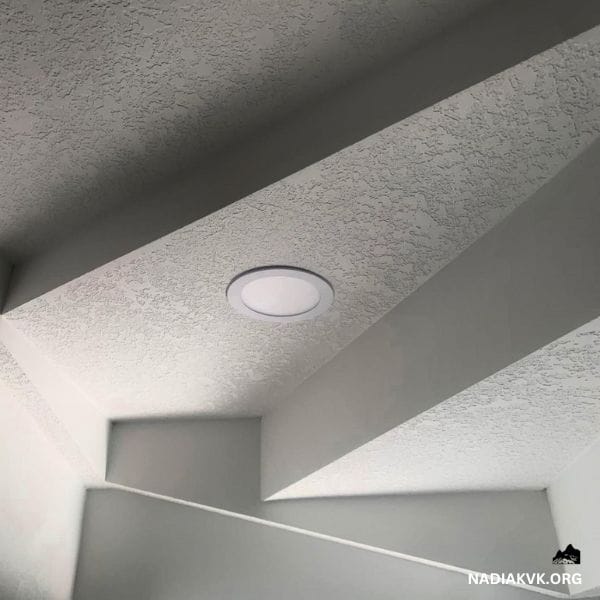
Is knockdown texture good for ceilings?
Yes — knockdown texture is one of the most common ceiling finishes because it hides minor imperfections and seams better than flat paint, while being easier to apply and repair than popcorn texture (which is now considered outdated and sometimes contains asbestos in older homes).