Are you tired of your outdated tile countertops but afraid to undertake a major renovation? The good news is that you can easily Cover Tile Countertops to give your space a modern and fresh look without spending a lot. In this article we will discuss the advantages of covering tile surfaces, the types of materials you can use, and provide a simple step-by-step guide for the process.

Benefits of Covering a Tile Countertop
Enhancing Aesthetics
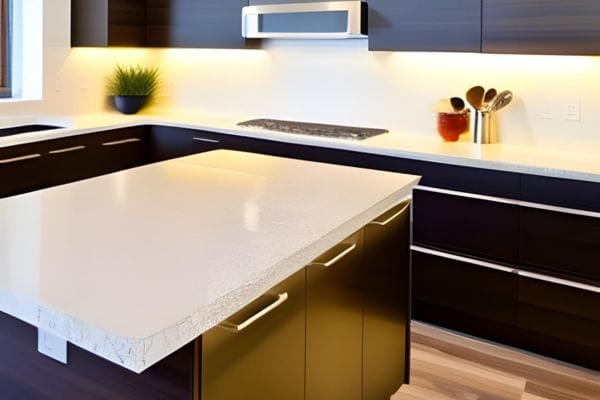
The aesthetic improvement your area experiences as a result of covering a tile countertop is its most obvious benefit. Tiles, especially older ones, could not go with your current decor style or design preferences. Your kitchen or bathroom’s appearance can be easily updated by covering them with a different material.
Durability Improvement
Over time, tiles may chip, crack, or develop worn patterns. The lifespan of your countertop can be greatly increased by covering them with a more robust material. It is especially helpful in locations with high usage where counters are subject to regular wear and tear.
Cost-Effective Option
Covering your current tile surface is a more affordable option than replacing the entire countertop. It is a cost-effective solution for a home remodeling project because you will save on the removal and disposal of old tiles.
Types of Materials for Covering Tile Countertops

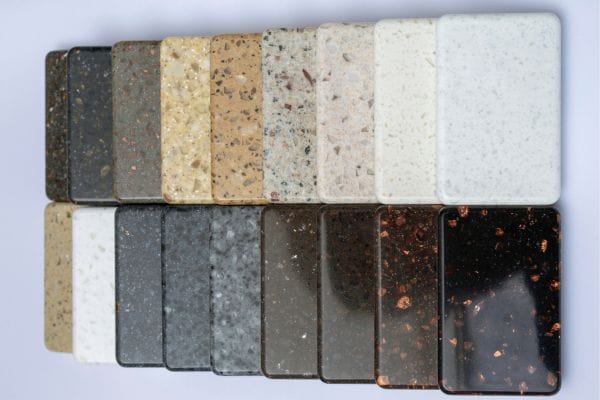
You have a variety of material alternatives when it comes to covering a tile countertop each material has distinct qualities and benefits. Here are a few well-liked options:
Laminate
Laminate countertops come in a variety of colors and patterns, are inexpensive, and are simple to install. It is a popular option for DIY enthusiasts because it require little maintenance.
Quartz
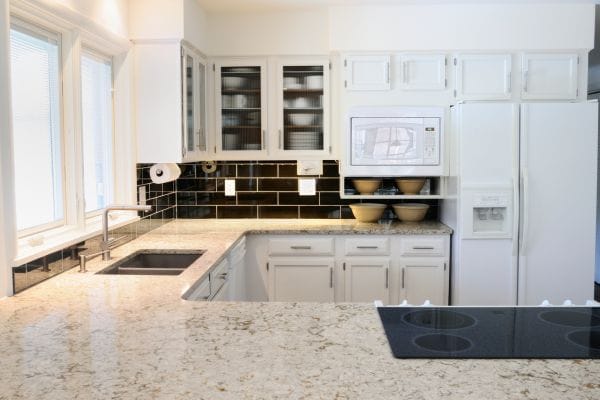
Quartz surfaces are incredibly strong and resistant to scratches and stains. It can imitate the appearance of natural stone without the extensive care requirements and are available in a variety of styles.
Granite
Granite countertops offer an opulent and sophisticated aesthetic. It is perfect for busy kitchens because it is heat and scratch-resistant.
Solid Surface
Countertops made of solid surfaces are seamless and simple to maintain. It is available in a variety of colors and can be made to match your unique design choices.
Step-by-Step Guide to Cover a Tile Countertop

Preparing the Surface
Ensure that there are no dishes, appliances, or anything on your countertop that could hinder your job before you start. Since it’s imperative to start fresh, use a degreaser or a solution of warm water and mild detergent to scrub the current tile surface completely. Cleaning off any residue, lubricants, or dirt that could prevent adhesion is crucial.
Check the tile surface for any broken or damaged tiles as well, and take care of the problem by either replacing the offending tiles or having them repaired.
To improve the surface on which the new material will adhere, think about lightly sanding the tiles if they have a glossy appearance. For a clean working surface after sanding, be careful to brush away any remaining dust.
Choosing the Covering Material
Choosing the covering material you want to use is the next step. Your decision should take into account your priorities for toughness, beauty, and price. Take your time to decide which material will best meet your demands, whether it be laminate, quartz, granite, or solid surface.
In order to calculate how much covering material you’ll need after making your choice, carefully measure the measurements of your countertop. To accommodate for any potential inaccuracies during cutting or installation, it’s a good idea to round up your measurements a little.
Measuring and Cutting
Create templates out of cardboard or paper that match the form and dimensions of your countertop if the covering material you’ve chosen comes in large sheets.
As you cut the material, use these templates as your guidance. When you have your templates, trace the measurements onto the covering material and then cut it out.
Depending on the material, the cutting technique may differ; for example, a circular saw may be appropriate for solid surfaces while a jigsaw may be preferable for laminate.
This procedure requires extreme precision since a smooth fit depends on precise cutting. For a polished and smooth finish, spend some time after cutting sharp edges with sandpaper or a router.
Applying Adhesive
Choose an adhesive that is appropriate for both the tile surface and your chosen covering material. Apply a thin, even coating of glue using a trowel or an applicator suggested for the adhesive type to the prepared tile surface as per the manufacturer’s recommendations.
Given that drying times can differ based on the type of adhesive used, it’s crucial to follow the instructions. The key to creating a solid and long-lasting bond between the new material and the tile surface is using adhesive that has been placed properly.
Installing the New Surface
Making sure it properly lines up with the countertop’s edges, carefully place the cut covering material onto the adhesive. Apply consistent pressure all over the surface to achieve appropriate adherence, being careful not to trap any air bubbles underneath the substance.
If any air bubbles are present, use a roller to smooth them down and direct the air toward the edges, where it can escape.
If the material you’ve chosen has joints or seams, seal the edges with a suitable glue or seam sealer to create the appearance of a seamless surface. Remove any extra glue that may have leaked from the edges during installation by wiping them off as well.
Drying and Curing
Observe the manufacturer’s instructions for how long the glue should be allowed to dry and cure. A strong link between the new covering material and the tile surface must be created during this curing period.
To minimize shifting or damage to the newly installed material during this time, stay away from placing any heavy things on the countertop.
Finishing Touches
You can go on to the finishing touches once the adhesive has fully dried and the new covering material has been firmly installed. If any appliances, sinks, or fixtures were taken out at the start of the job, they should be put back in.
In order to stop moisture from penetrating your new countertop’s seams or joints, you might want to consider sealing them with the right seam sealer.
Your updated countertop will continue to serve as a beautiful and useful addition to your kitchen or bathroom for many years to come with the right upkeep.
Maintenance

Follow these important maintenance tips to keep your covered tile countertop looking great:
Cleaning: Clean the surface on a regular basis with a light detergent and warm water. To prevent damage, avoid using abrasive cleaners.
Avoid Harsh Chemicals: Bleach, ammonia, and abrasive scrubbing pads should be avoided because they can destroy the covering material.
Use Cutting Boards and Hot Pads: Use cutting boards and heat-resistant pads to protect the surface from scratches and heat damage.
Wipe Spills Quickly: Clean up spills as soon as possible, especially acidic liquids or oils, to avoid discoloration.
Avoid Impact and Heavy Objects: Handle heavy items with caution to avoid chipping or breaking of the covering material.
Sealing (If Necessary): To maintain look and protect against stains and moisture, follow the manufacturer’s sealing instructions.
Regular Inspections: Check for damage, loose edges, or seam separation on a regular basis, and solve any issues that arise.
Avoid Standing Water: Wipe up spills and standing water immediately to prevent moisture from permeating the surface.
Follow Manufacturer Recommendations: To prolong the life and beauty of your covering material, follow the manufacturer’s care and maintenance requirements.
By following these simple yet effective maintenance practices you can ensure your covered tile countertop remains both visually appealing and functional for years to come.


